

Forest Battle Map Layouts: Elevation, Canopy, and the Paths Between
Five forest battle map layouts that force real tactical choices — from ravine ambushes to burning canopy. Each with terrain features, timing, and examples.
Fifteen bandits. A forest road at 10-foot scale. A map I'd generated in under a minute.
I'd built what I thought was a solid ambush — archers in the trees, melee fighters on the path, a leader behind a boulder. But the forest battle map was a flat rectangle of trees with a road through the middle. No elevation. No chokepoints. No reason for any bandit to stand anywhere specific.
The fight lasted 4 rounds. Marcus cleaved through them in one spot. Jess had nowhere to hide. Dan dropped a single Fireball.
That wasn't an encounter design problem. It was a layout problem.
Most Forest Battle Maps Waste the Forest
Here's the thing: most DMs treat forests as aesthetic backdrops. A green rectangle with some tree tokens. But a forest is one of the most tactically dense environments in D&D — and the default "trees along a road" layout uses almost none of it.
Keith Ammann argues in The Monsters Know What They're Doing that intelligent enemies exploit terrain before they exploit abilities. A forest offers elevation, concealment, difficult terrain, vertical space, water hazards, and environmental pressure. More tactical options per square foot than most dungeons.
Most published forest encounters ignore all of it.
After 340 sessions across 4 groups, I stopped designing forest encounters by monster type and started designing them by layout type. Five layouts cover every forest battle map I've needed. Each one forces a different tactical problem on the party — and that's the point.
5 Forest Battle Map Layouts That Change Combat
1. The Ravine Trail — Narrow Path, Ambush Positions Above
A trail along the bottom of a narrow ravine or dry riverbed. Rocky walls rise 15-20 feet on both sides. The path is 10-15 feet wide. Trees and brush line the ridgeline above.
Tactical features:
- Elevation asymmetry — enemies on the ridge have high ground and half cover; the party is funneled below
- Natural chokepoint — the narrow trail restricts lateral movement to two-abreast at best
- Climbing as a decision — scaling the walls costs Athletics checks (DC 12-15) and movement, but flanking from above changes the fight
When to use it: Ambush encounters where the enemies have prepared the ground. Bandits, hobgoblins, drow raiding parties — any group smart enough to choose their battlefield.
From my table: After the flat-forest disaster, I rebuilt the same 15-bandit encounter as a ravine ambush. 8 archers on the ridgeline, 4 melee fighters blocking the trail, 3 behind a fallen tree. Jess's rogue climbed the wall — barely passed the Athletics check — and flanked the archers from behind. Same monsters, 45 minutes instead of 12. The layout did all the work.
2. The Clearing — Open Center, Covered Perimeter
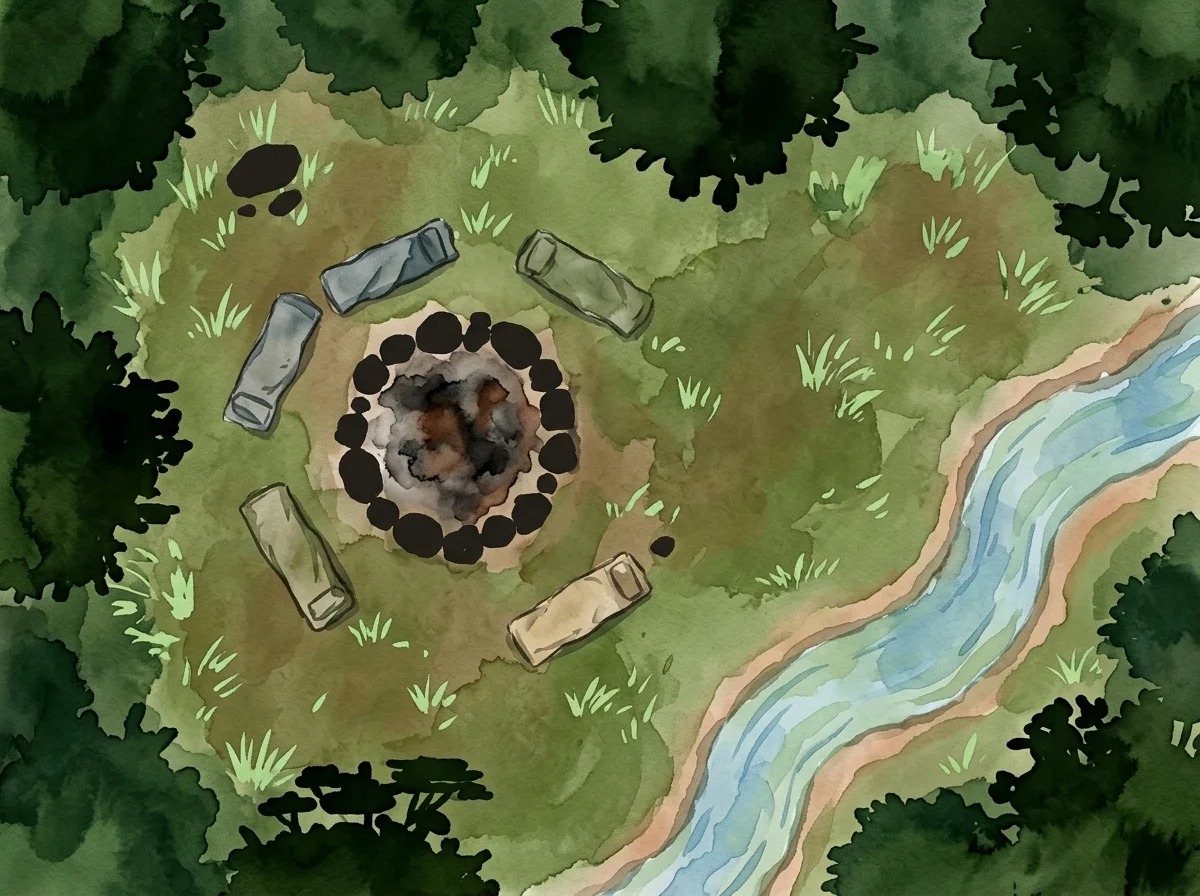
A circular or oval clearing, 40-60 feet across at 10-foot scale, surrounded by dense forest. Maybe a campfire ring, a standing stone, or a shallow pond in the center.
Tactical features:
- Zone control — the clearing is open ground (no cover); the tree line offers half to three-quarters cover
- Risk-reward center — any objective placed in the clearing forces characters to cross exposed ground under fire
- Multiple approach angles — the surrounding forest allows flanking from any direction; the party can't watch every tree line at once
When to use it: Any encounter where something draws the party into the open — a hostage, a ritual, a wounded NPC. Also works for "defend the camp" scenarios where the party holds the center.
From my table: I placed a wounded messenger in the clearing center. The party had to reach her before 6 wolves circling the tree line did. Marcus dashed across the open ground, eating opportunity attacks from 2 wolves. Jess stayed in the trees with a shortbow, using trunks as cover. The clearing split their formation in a way a forest road never would — exactly the pressure pack tactics wants to create.
3. The Canopy Fight — Vertical Combat on Tree Platforms
Combat above ground level. Rope bridges between trees, wooden platforms at 20-30 feet, rope ladders, vines. The ground below is secondary terrain — swampy, root-choked, or simply a 25-foot fall away.
Tactical features:
- True 3D combat — vertical movement with constant fall damage threat (2d6 to 3d6 from 20-30 feet)
- Aerial chokepoints — rope bridges are 5 feet wide, forcing single-file movement through the canopy
- Ranged dominance — archers on platforms control the fight; melee characters must climb to engage
When to use it: Elven outposts, spider nests, fey court ambushes. Any scenario where the forest itself becomes the arena rather than the backdrop.
From my table: An elven border patrol confronted the party from a platform 25 feet up. Three platforms connected by rope bridges, archers on each. Marcus tried to climb — failed the Athletics check twice, 2d6 fall damage each time. Dan used Levitate and drifted up untouched. That canopy encounter taught me more about vertical forest combat than 50 flat-ground maps combined.
A forest map generator handles the base terrain well — but annotate vertical elements by hand or narrate them. Top-down generators can't render multi-level platforms convincingly yet.
4. The Swamp Edge — Water + Trees = Mobility Puzzle
The forest transitions into swamp. Half the map is solid ground with trees; the other half is ankle-to-waist-deep water with partially submerged roots. The boundary is irregular and unpredictable.
Tactical features:
- Difficult terrain — water squares cost double movement; heavy armor characters are nearly immobilized
- Concealment — murky water hides underwater hazards (crocodiles, submerged logs, traps)
- Speed vs. safety — the shortest path goes through water; the safest path costs 3 extra rounds of circling on solid ground
When to use it: Encounters where you want to break formations. Lizardfolk, bullywugs, green hags, will-o'-wisps — creatures that use water as home turf.
From my table: I ran this for a green hag encounter. The hag started in waist-deep water with full concealment, casting spells from fog clouds. Marcus refused to enter the water — disadvantage on attacks while wading — and tried to circle on solid ground, which cost him 3 rounds. The ranger waded in and got grappled by a concealed crocodile. A thread on r/DMAcademy about swamp combat put it well: the best swamp fights force a choice between speed and safety, then punish whichever you pick.
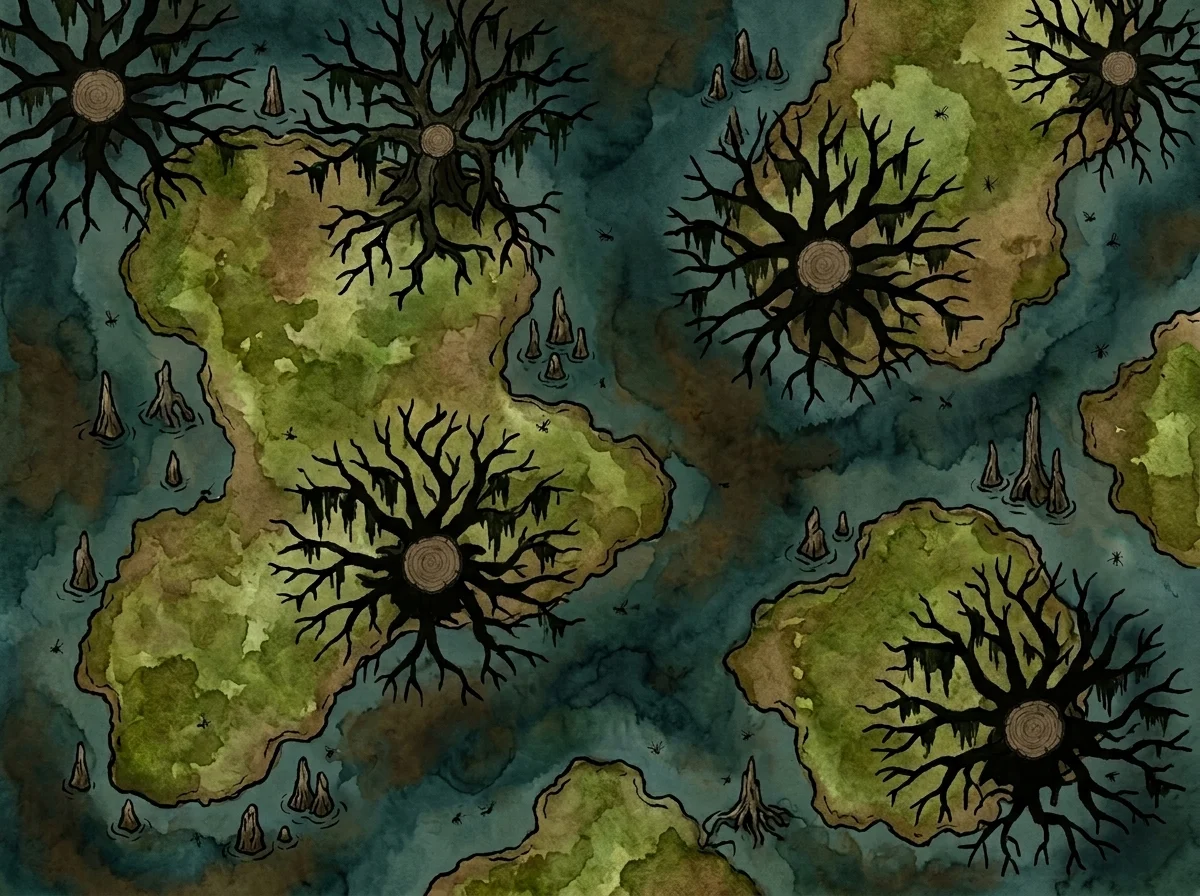 Bayou-style swamp edge — solid ground on the left, deep water on the right. The transition zone in the middle is where combat gets interesting.
5. The Burning Forest — Environmental Hazard as a Timer
A forest fire is spreading. The fire moves 10-20 feet per round in a direction you set at initiative. Trees ignite, smoke reduces visibility, and the usable battlefield shrinks every turn.
Tactical features:
- Hard timer — the fight must end before the fire closes the escape route
- Shrinking map — usable terrain decreases each round, compressing characters together
- Damage zones — burning squares deal 1d6 to 2d6 fire damage on entry or end of turn
- Smoke concealment — heavily obscured within 10 feet of the fire line (functionally blind)
When to use it: Boss encounters that need urgency. Encounters where the environment is the primary threat and the monsters are secondary.
From my table: A young red dragon torched the canopy and flew away. The party had to fight through its kobold servants to reach the river on the north edge. I moved the fire line 15 feet north each round. Five rounds before the flames cut off the last path out. They barely made it.
Nobody remembers the kobolds. Everyone remembers the fire.
The burning forest is the one layout where the dnd forest map you generate is just the starting state. I mark the fire line each round with red tokens in Foundry VTT — watching the usable space shrink in real time creates more tension than any stat block.
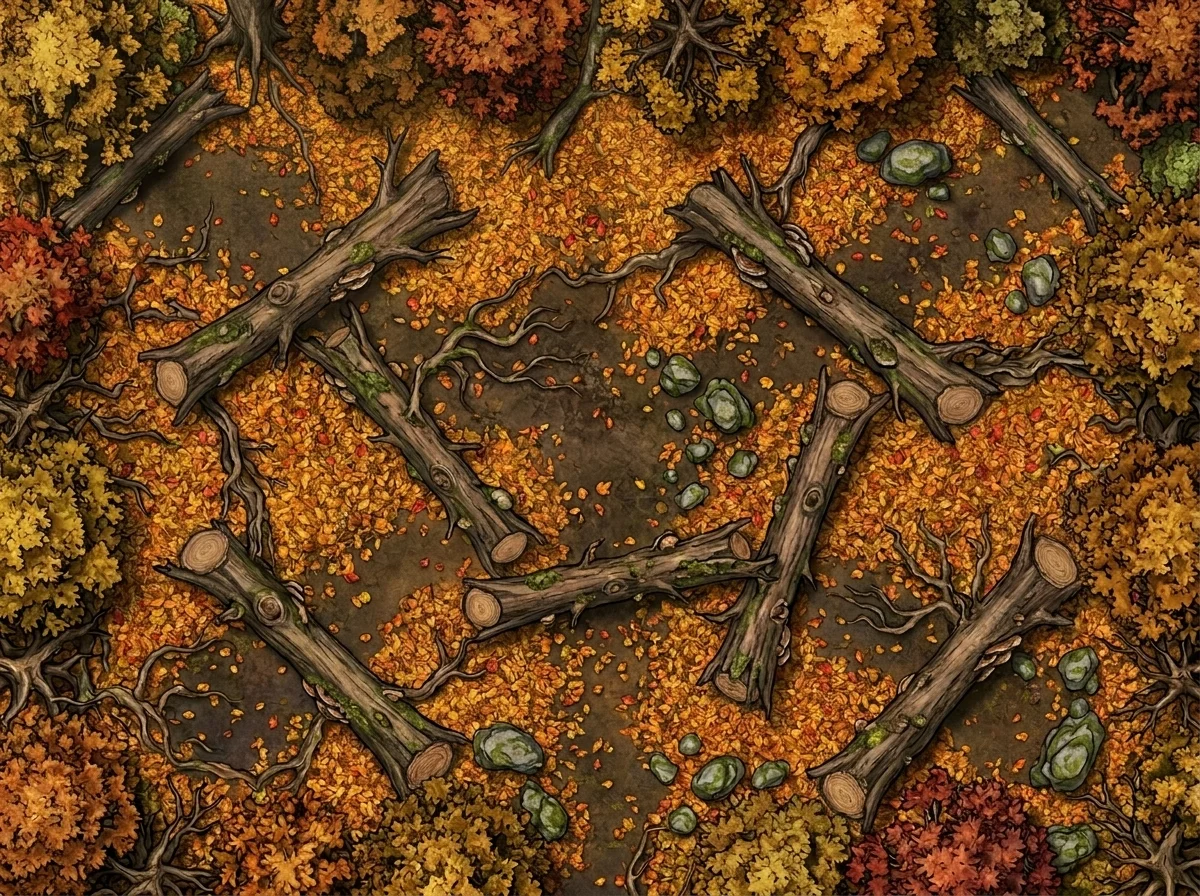 Autumn woods at the edge of burning — the warm tones set the mood. Add a fire line moving north at 15 feet per round and this map becomes a countdown.
When Forest Layouts Break
These layouts aren't always worth the setup. Three situations where I default to a simple tree-and-road map:
- Random travel encounters. If the fight is just a wandering-monster tax between story beats, a complex layout wastes everyone's time. Roll initiative, resolve in 3 rounds, move on.
- Enormous creature fights. A Treant or an Ancient Green Dragon doesn't care about cover or chokepoints. When the enemy IS the terrain, the map layout matters less than the creature's reach and movement.
- Brand-new players. Complex layouts overwhelm groups still learning the action economy. Start with the Clearing (Layout 2) before introducing the Canopy Fight (Layout 3). Layer the complexity as they level up — just like the monster manual does.
Every forest battle map I generate now starts with a layout choice, not a prompt. Pick the tactical problem first — then build the trees around it.
If you've been running forests as flat green rooms with scattered trunks, try the Ravine Trail next session. Put 4 archers on a ridge and watch your players suddenly care about where they're standing.
The forest was never the backdrop. It was always the encounter.
Related Reading
- How to Design Forest Encounters That Challenge Your Party — Encounter design principles for the layouts above.
- Choke Points, Cover, and Why Most Battle Maps Are Flat — The terrain theory behind every layout in this post.
- 5 Battle Map Themes I Reuse Every Campaign — The broader map library these forest layouts fit into.
- Forest Map Generator — Generate the base terrain for any layout.
- AI Battle Map Generator — Tactical maps with built-in terrain features.

Written by
Toby
Indie Developer & Creator of FantasyGen
Toby is an independent developer focused on building AI-powered creative tools. He created FantasyGen to help game masters and worldbuilders generate fantasy maps instantly — no artistic skills required.
Continue the Campaign
How to Run a Forest Encounter That Isn't Just 'Trees Everywhere'
Stop running featureless tree grids. This 5-step forest encounter workflow layers real terrain, pacing, and environmental pressure onto any d&d forest map.
DnD Forest Maps: Why Flat Tree Grids Kill Forest Encounters
Stop running flat tree grids. A good dnd forest map uses elevation, natural choke points, and hazards to turn woodland encounters into real tactical combat.
Cave Battle Maps: Why Tight Spaces Create the Best Fights
Cave battle map design forces tactical decisions open maps avoid. Learn why tight corridors, darkness, and vertical drops create the most memorable D&D fights.